BLOG
Travel and photography blog by Tomas Havel.

Synology NAS - An ideal storage solution for photographers
Have you ever connected a hard-drive to your PC only to find out it turned itself into a brick? If your answer is no, you can consider yourself a lucky person. Several of my colleges lost data to broken hard-drives and I can assure you, they are no amateurs in the field of photography.
Most questions I receive relate to photography equipment. Fans all around the world want to know how I use my camera, tripod and lenses. I patiently answer these frequent questions but I have to say that nowadays, you can make a great photo using a common cell phone.
However, over the years I found a different piece of equipment even more essential. When you finish reading I would like you to evaluate your current stand and ask yourself what you could do to prevent loosing files, a true photographer’s nightmare.
Have you ever connected a hard-drive to your PC only to find out it turned itself into a brick? If your answer is no, you can consider yourself a lucky person. Several of my colleges lost data to broken hard-drives and I can assure you, they are no amateurs in the field of photography.
I was looking for a solution to my storage and back-up problem for more than a decade and finally I managed to find a product I can depend on. After a thorough testing I would like to share my opinion on a storage made by Synology, which became an integral part of my photography process.
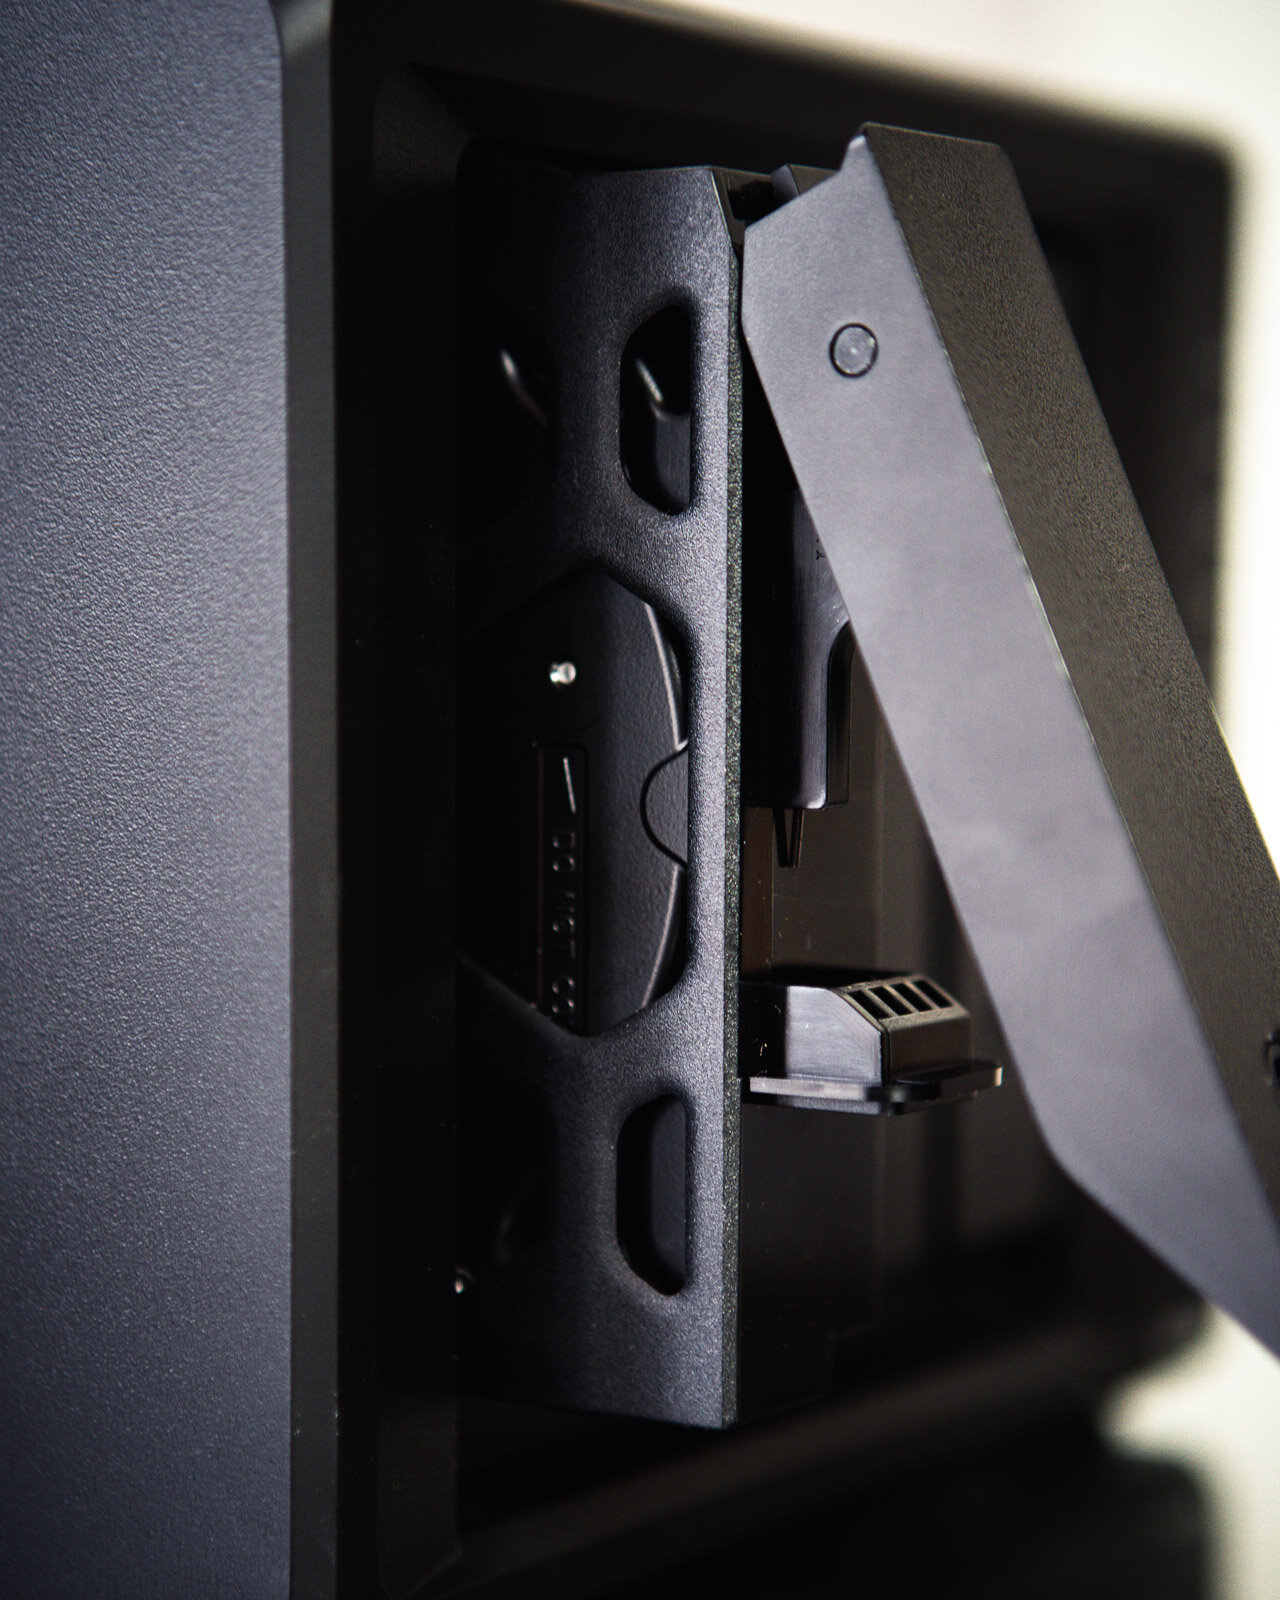
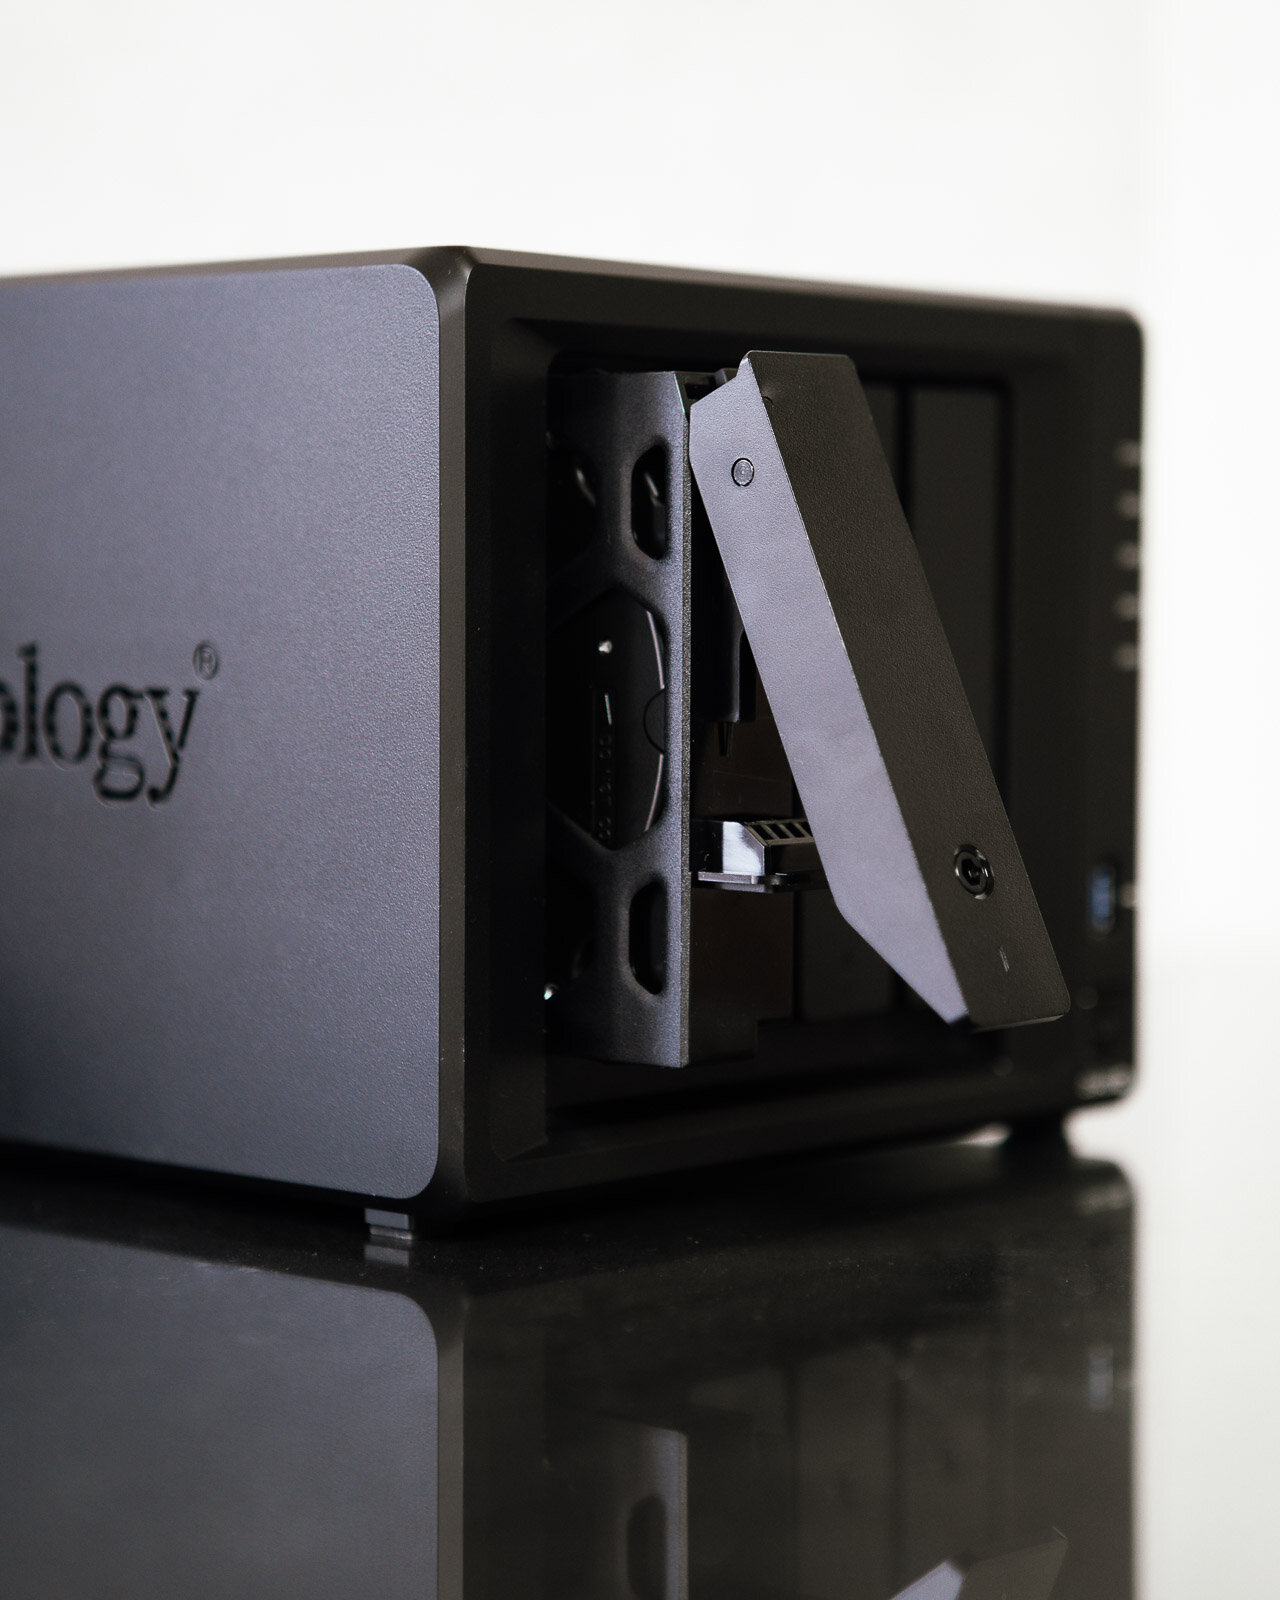
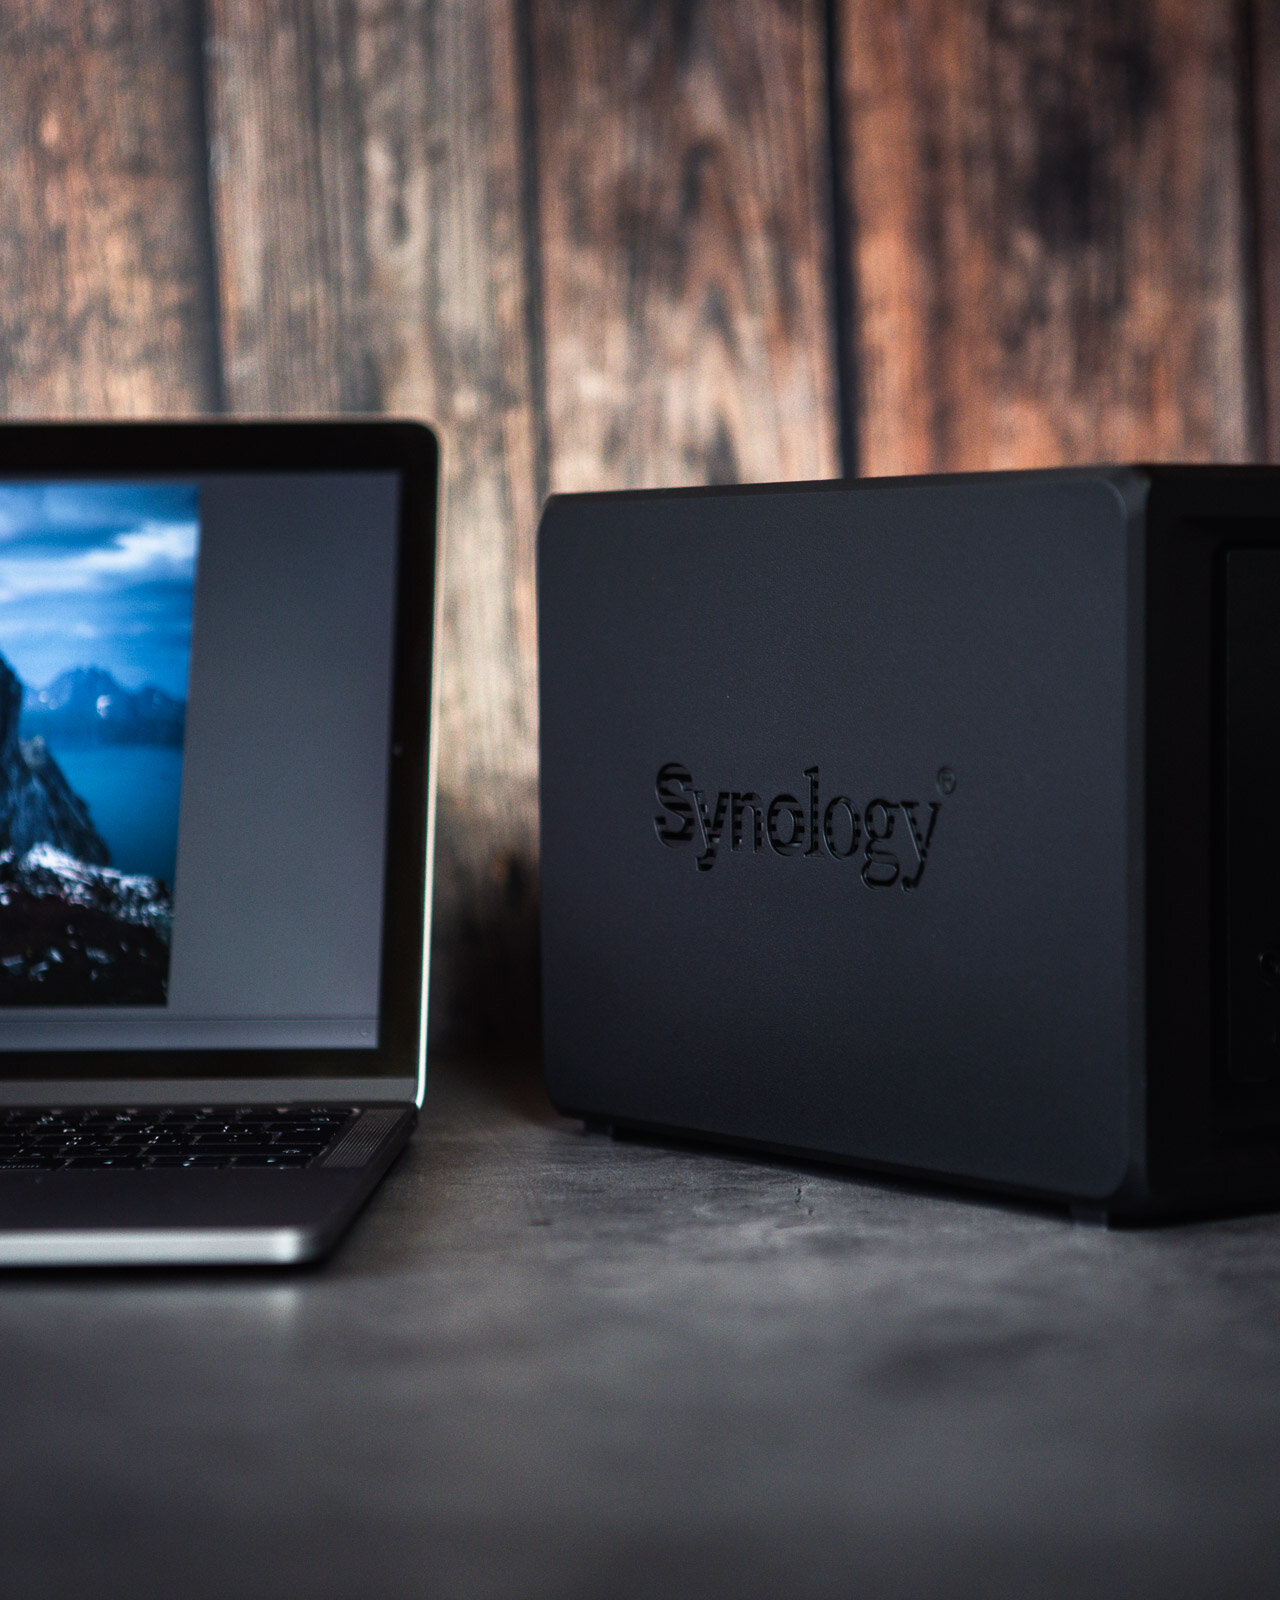
My Synology setup
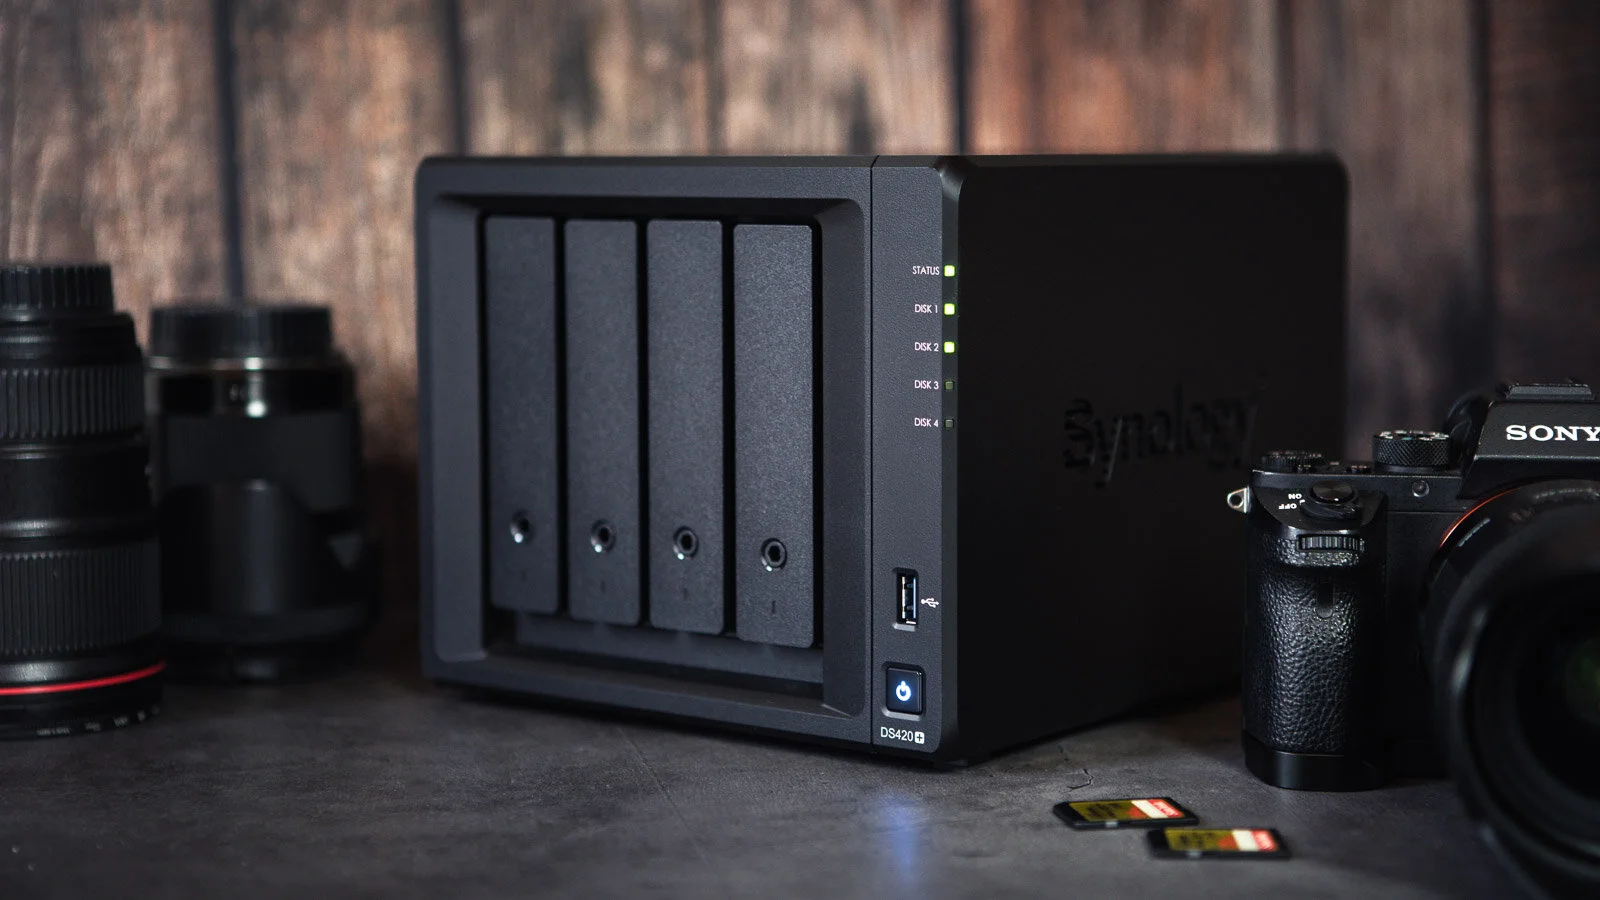
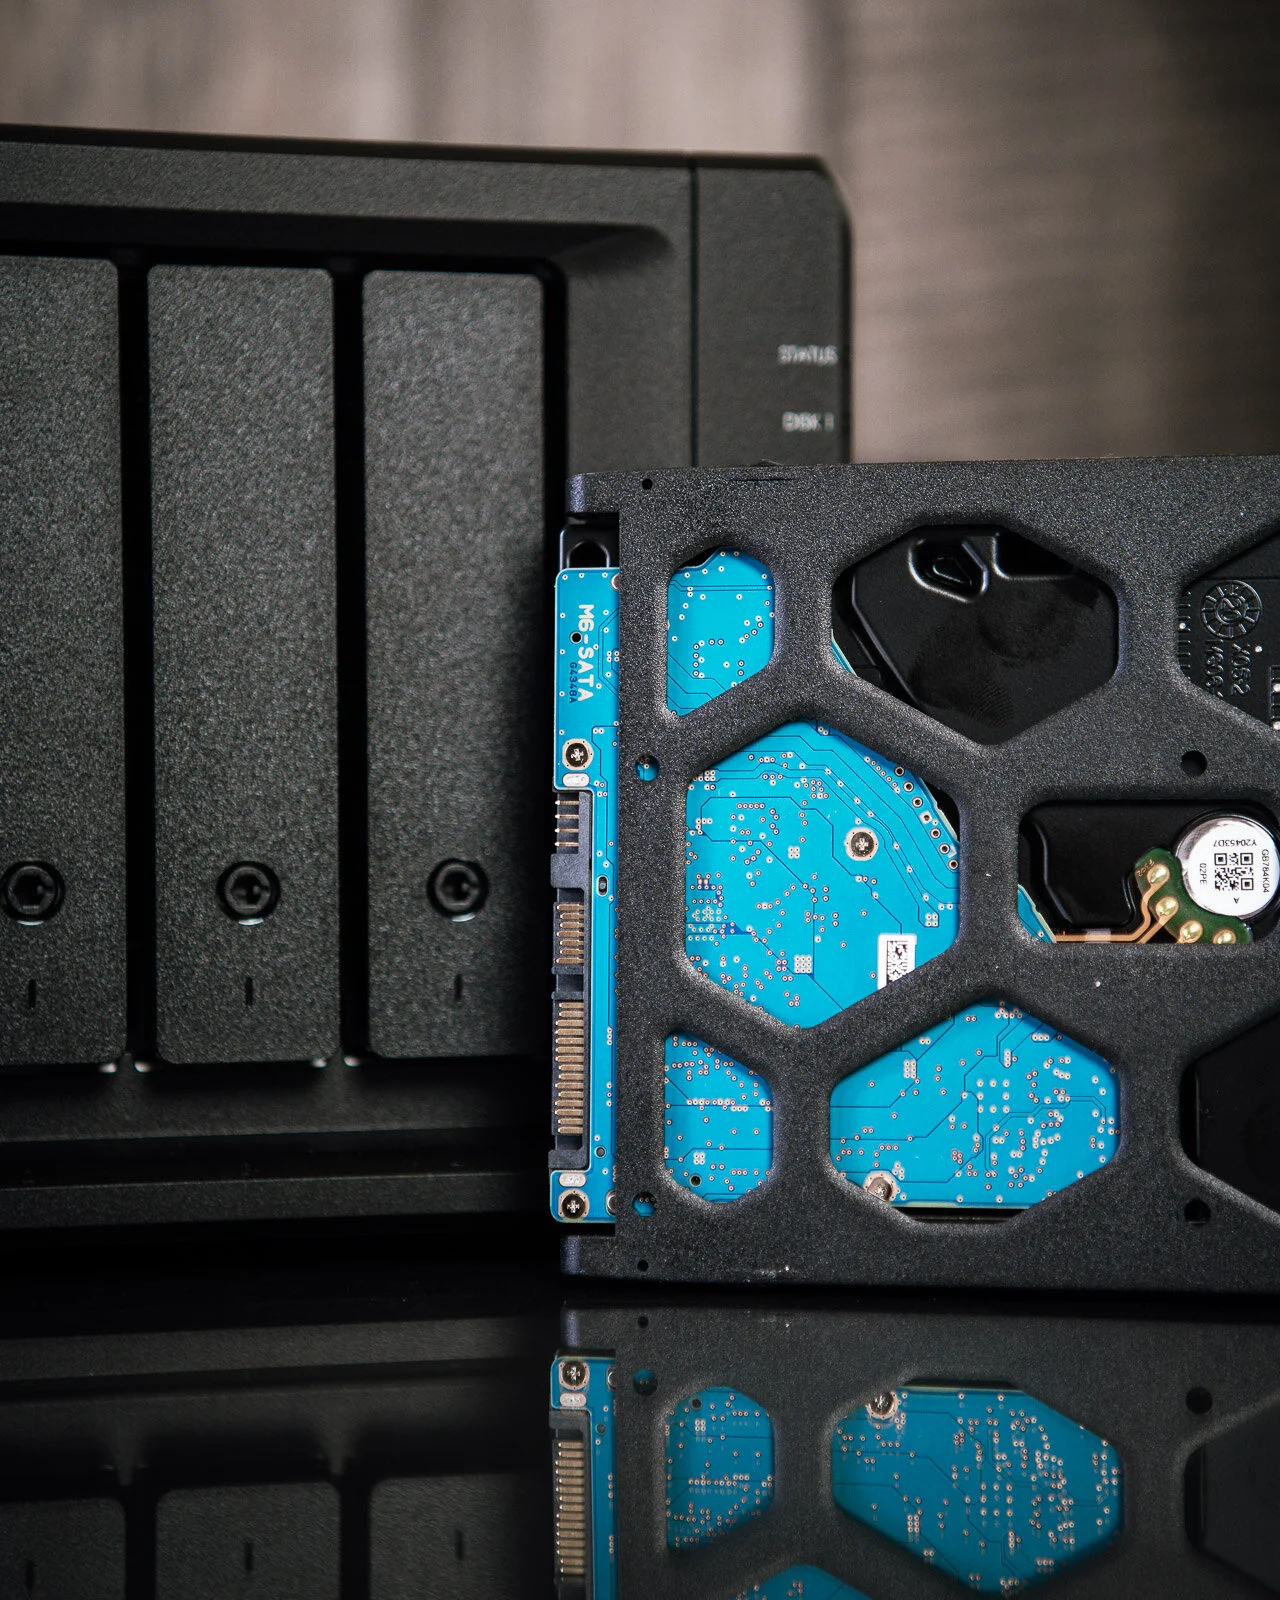
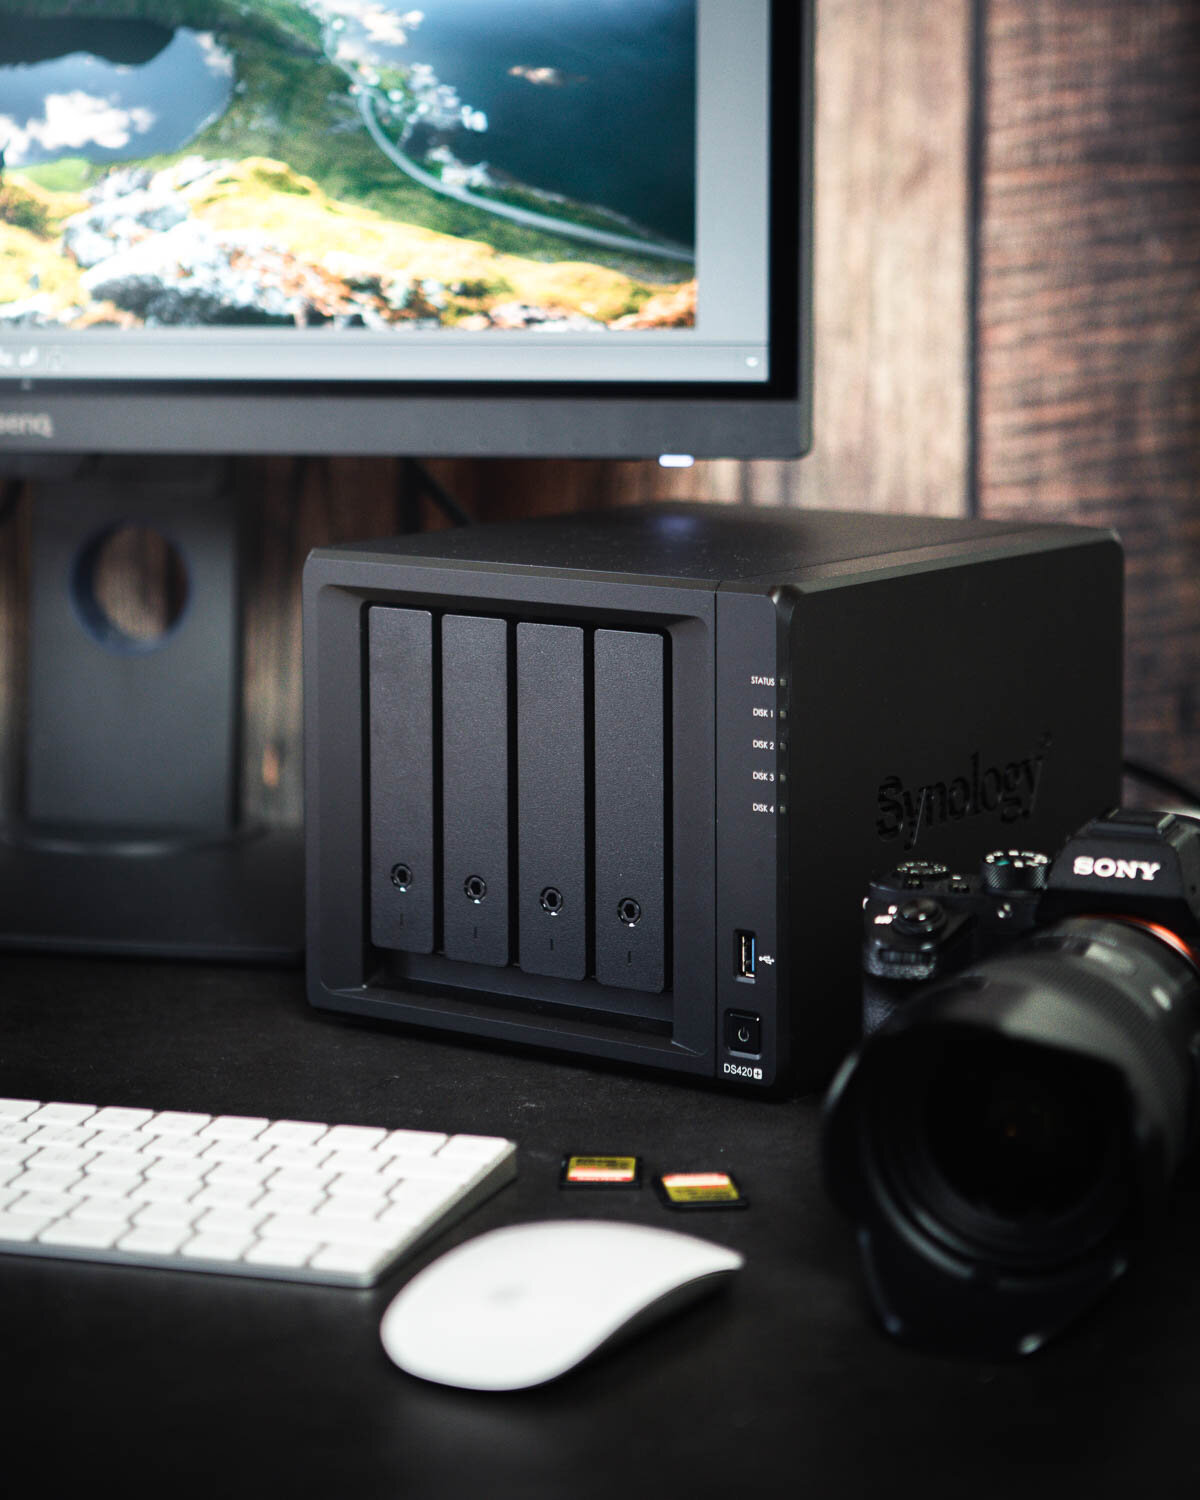
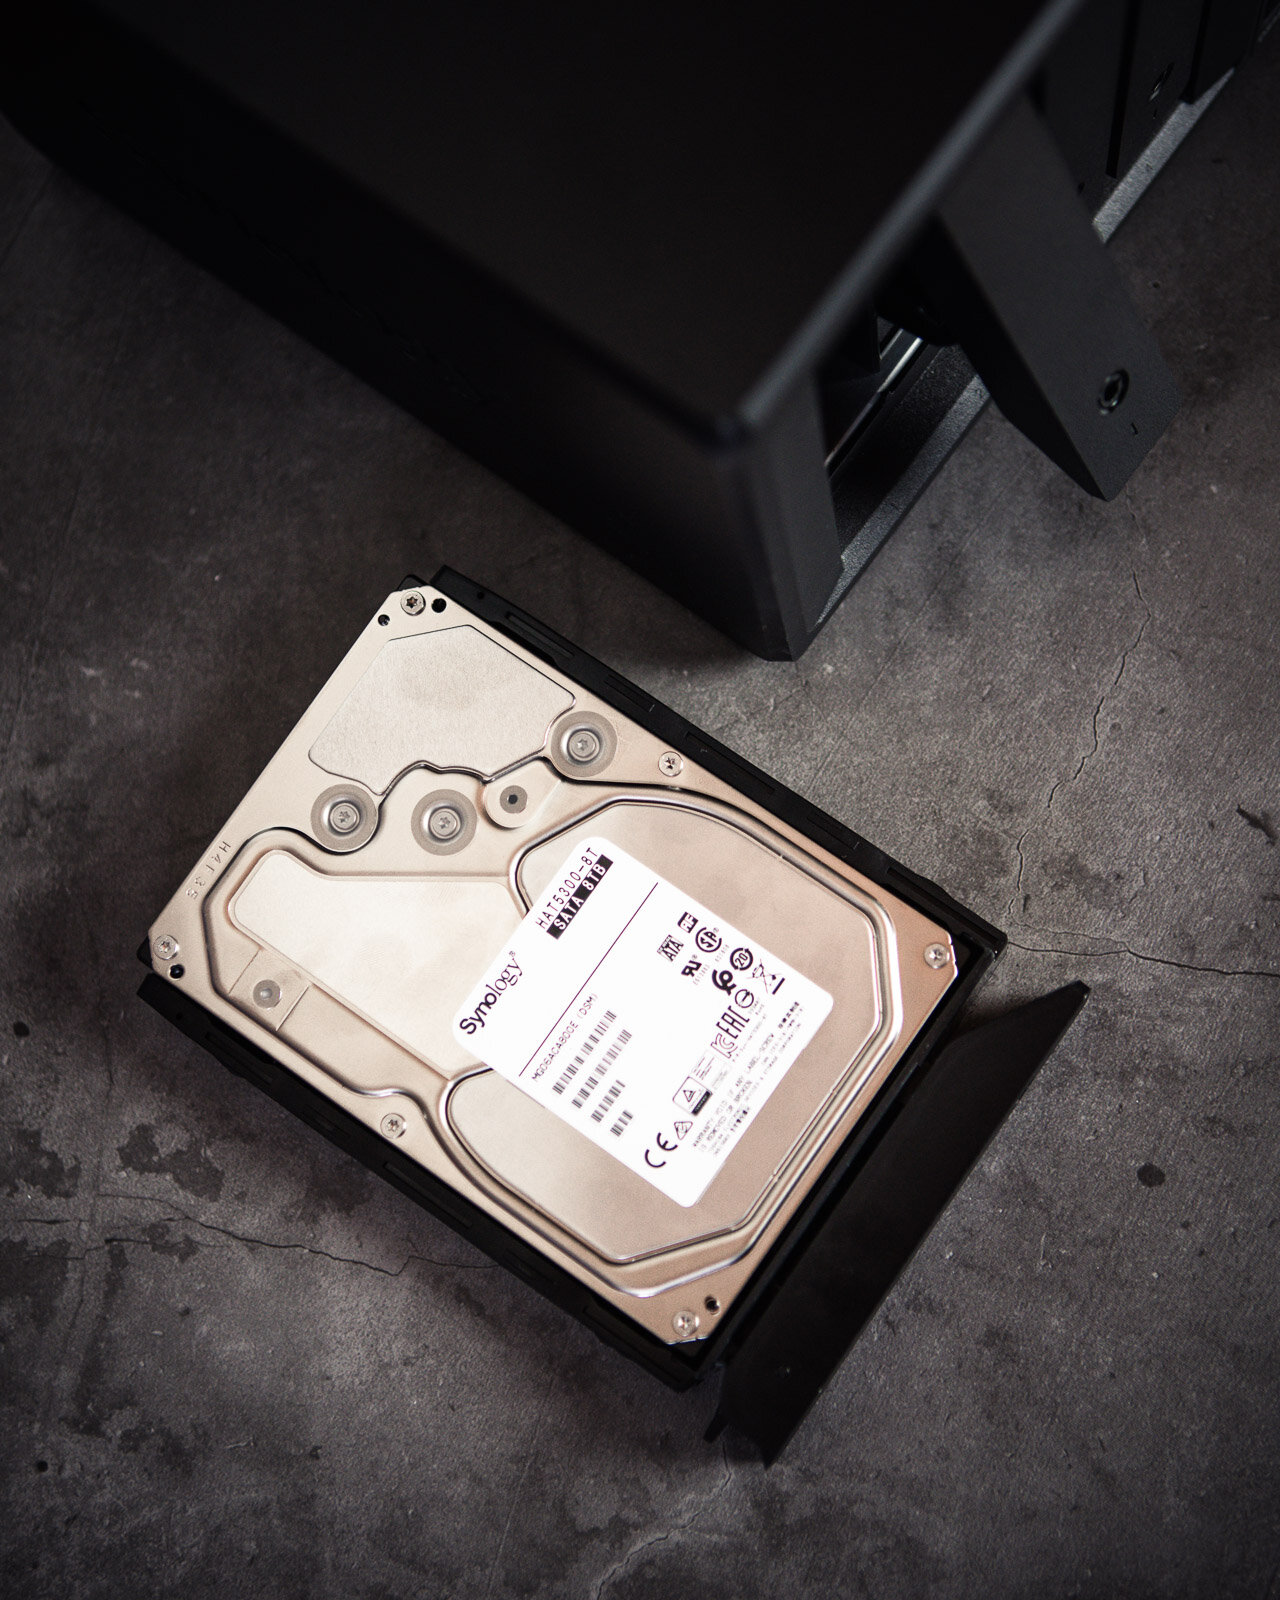
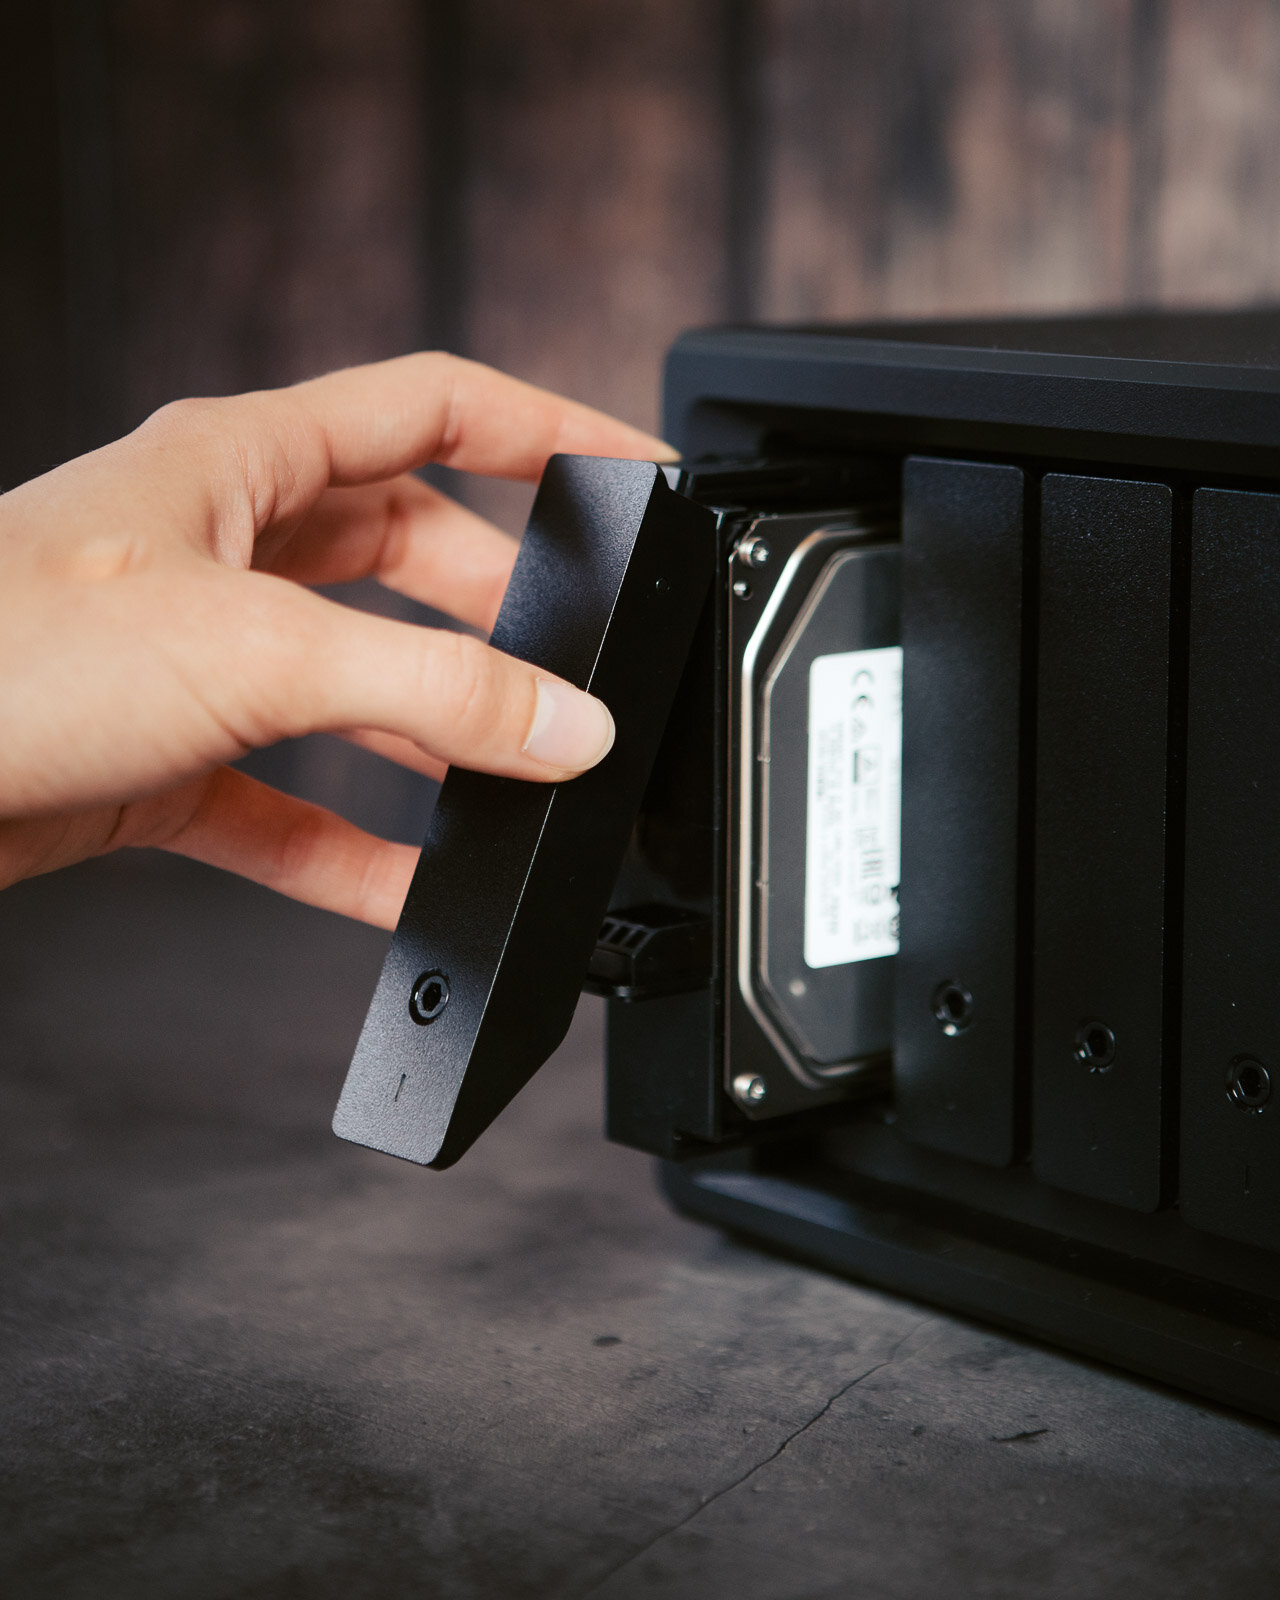
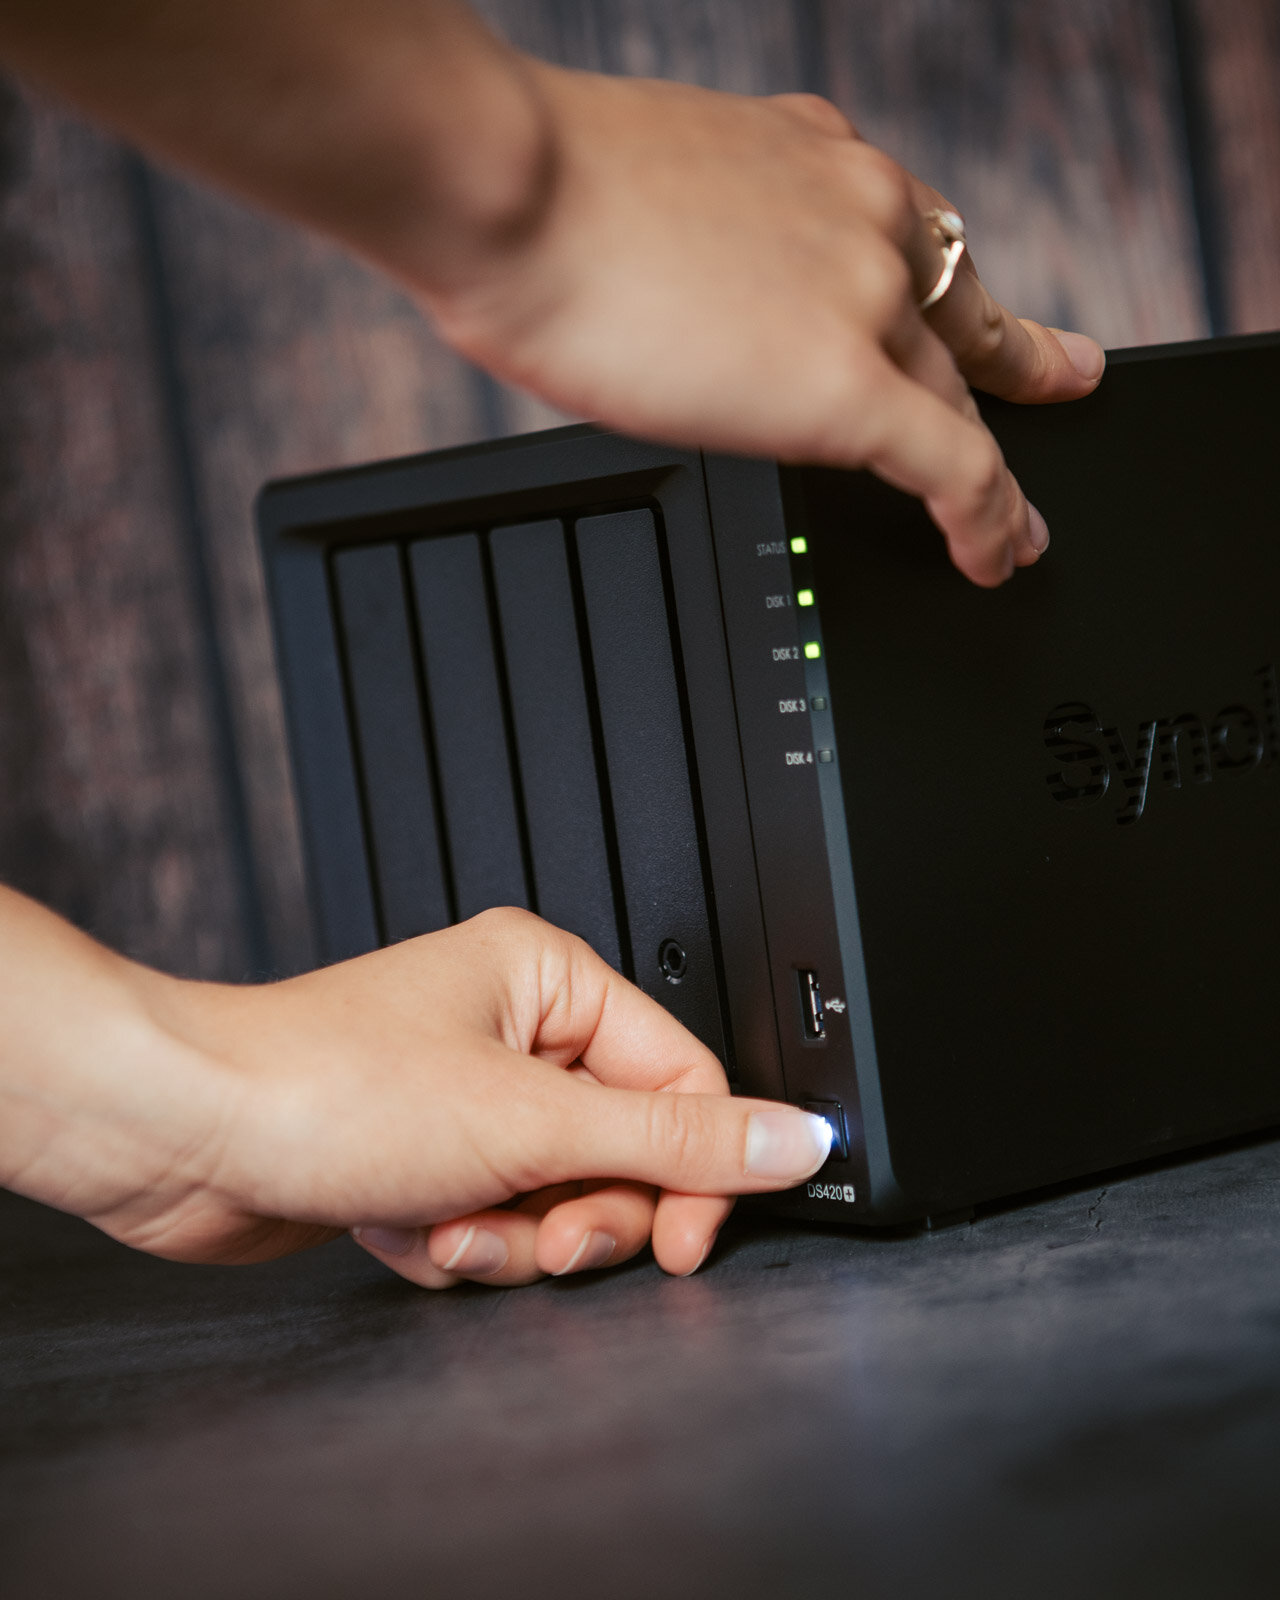
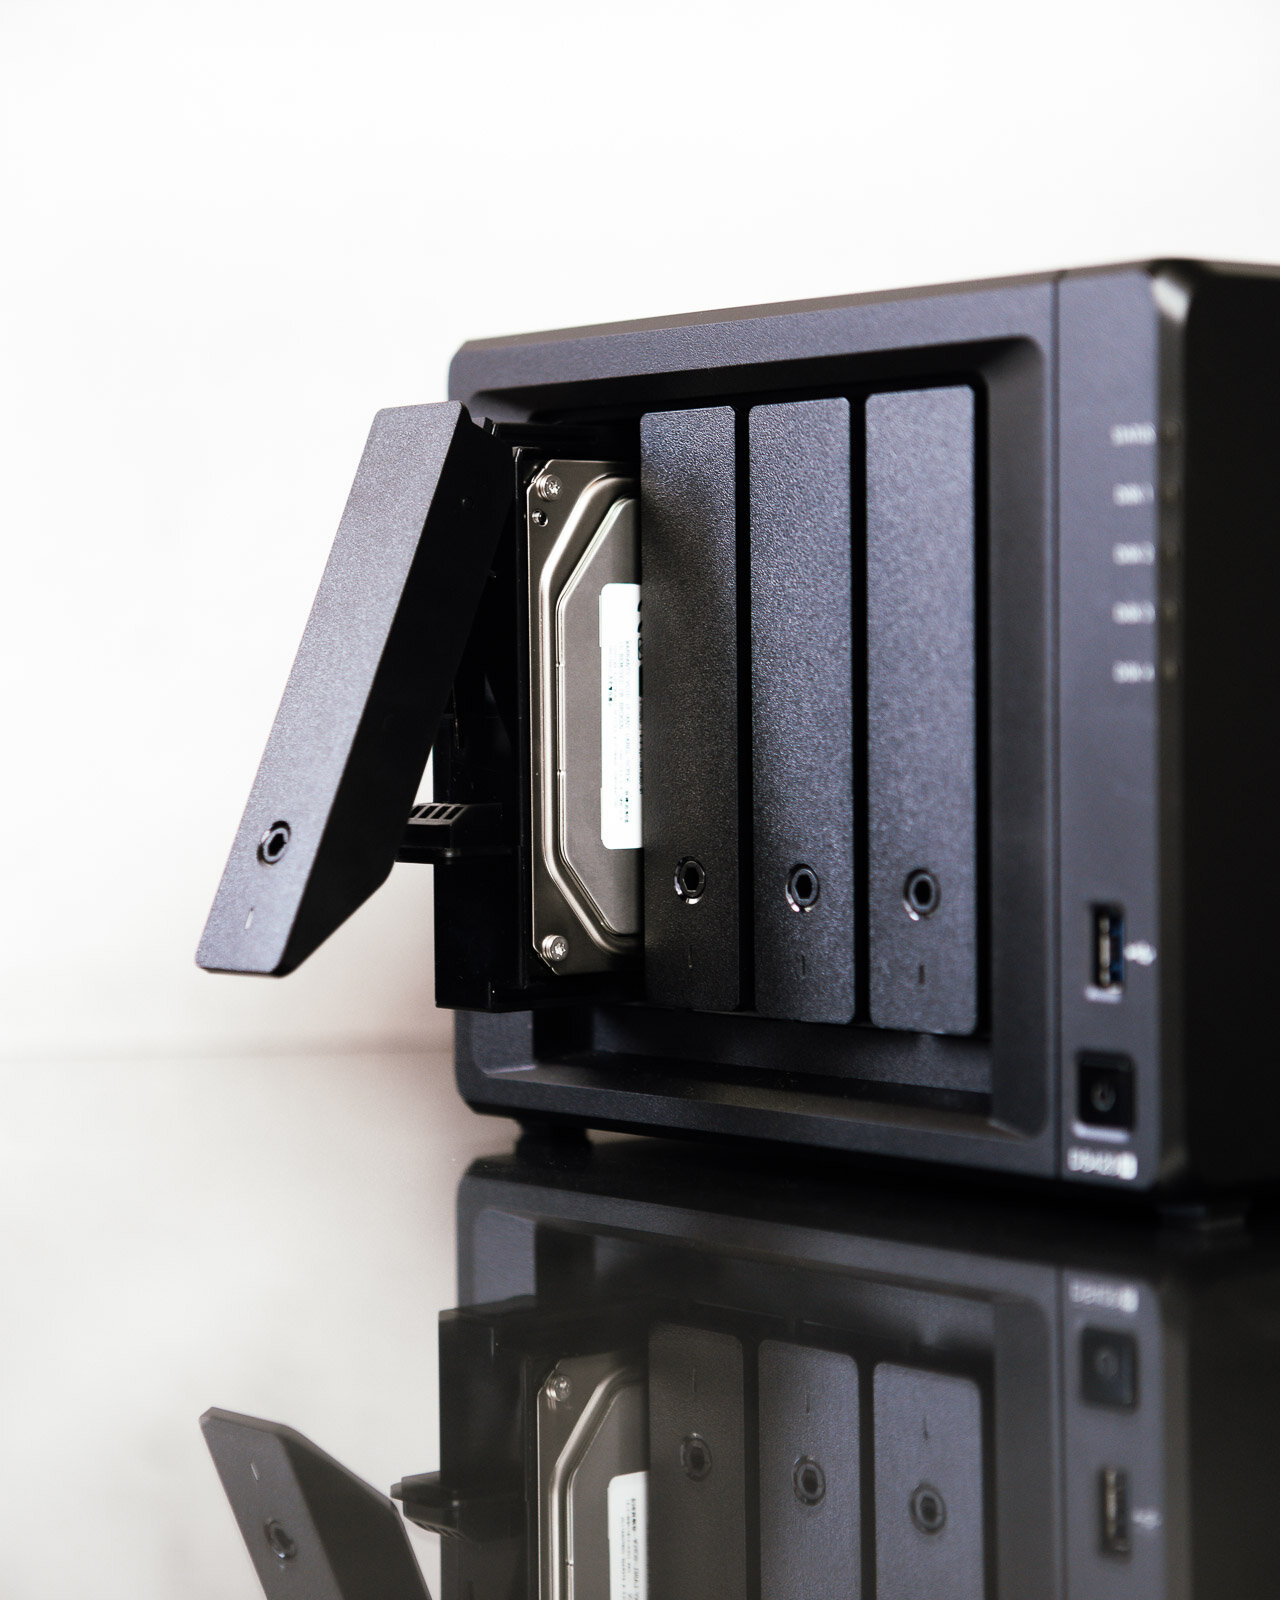
Sitting on my table is Synology NAS DS420+ together with HAT5300 8TB+ hard-drives. NAS (Network Attached Storage) represents a smart data storage consisting of hard-drives connected to a network, making the files accessible from different devices, such as smartphones, tablets and PCs. NAS is a unit with its own CPU and RAM, which means it protects my data but also enables a quick and easy access from anywhere I need.

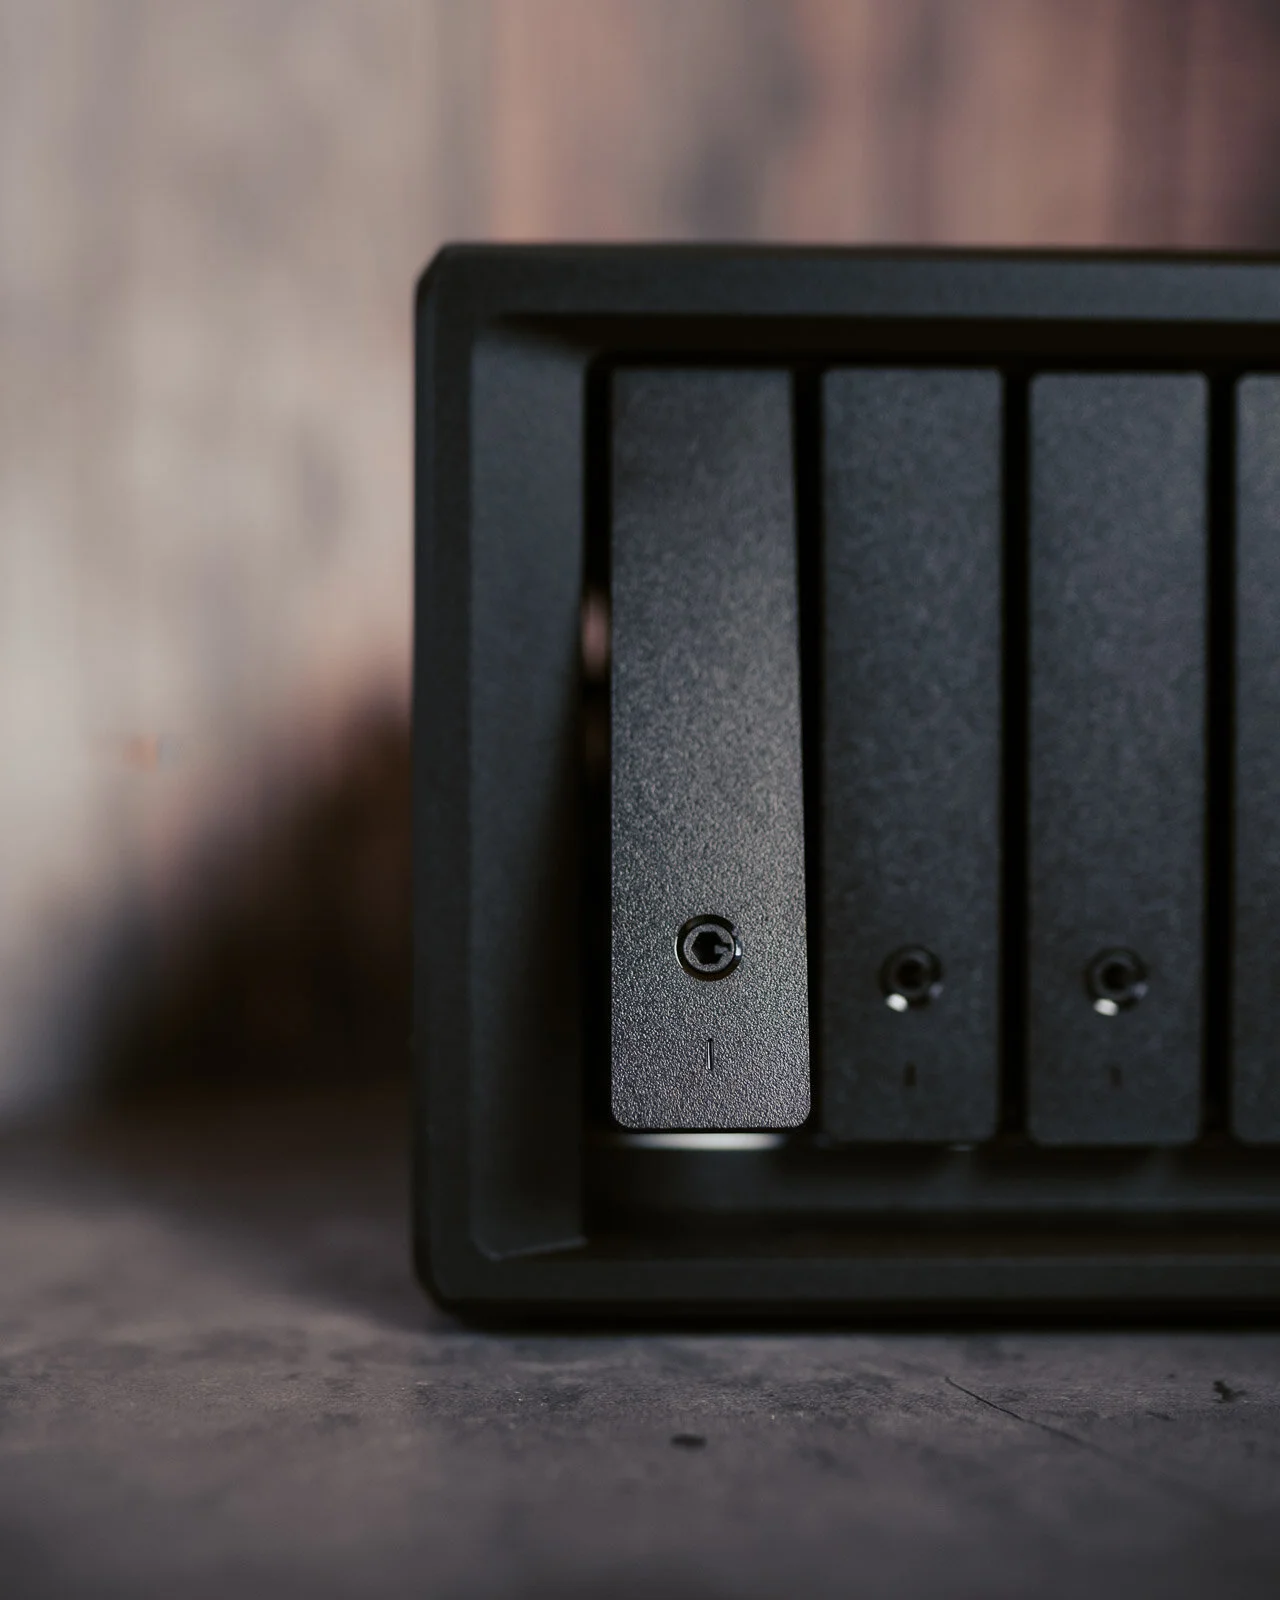
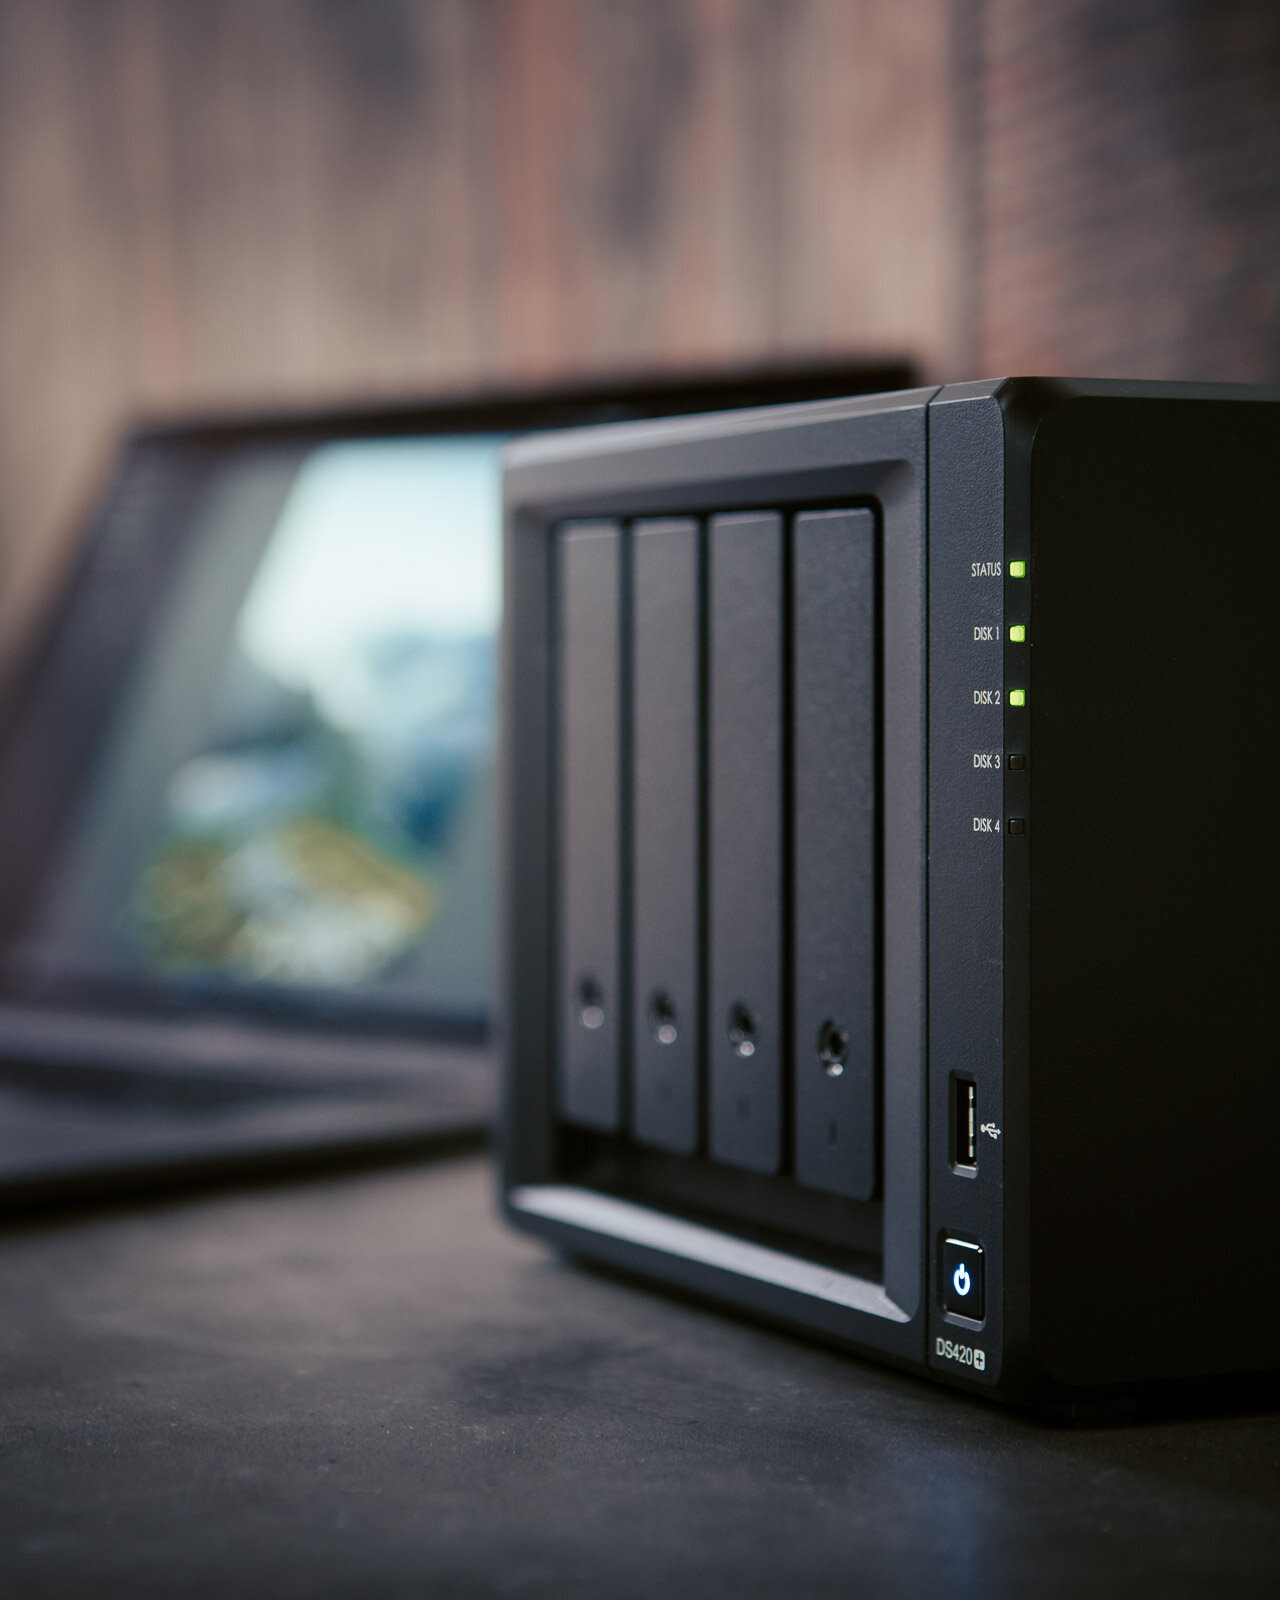
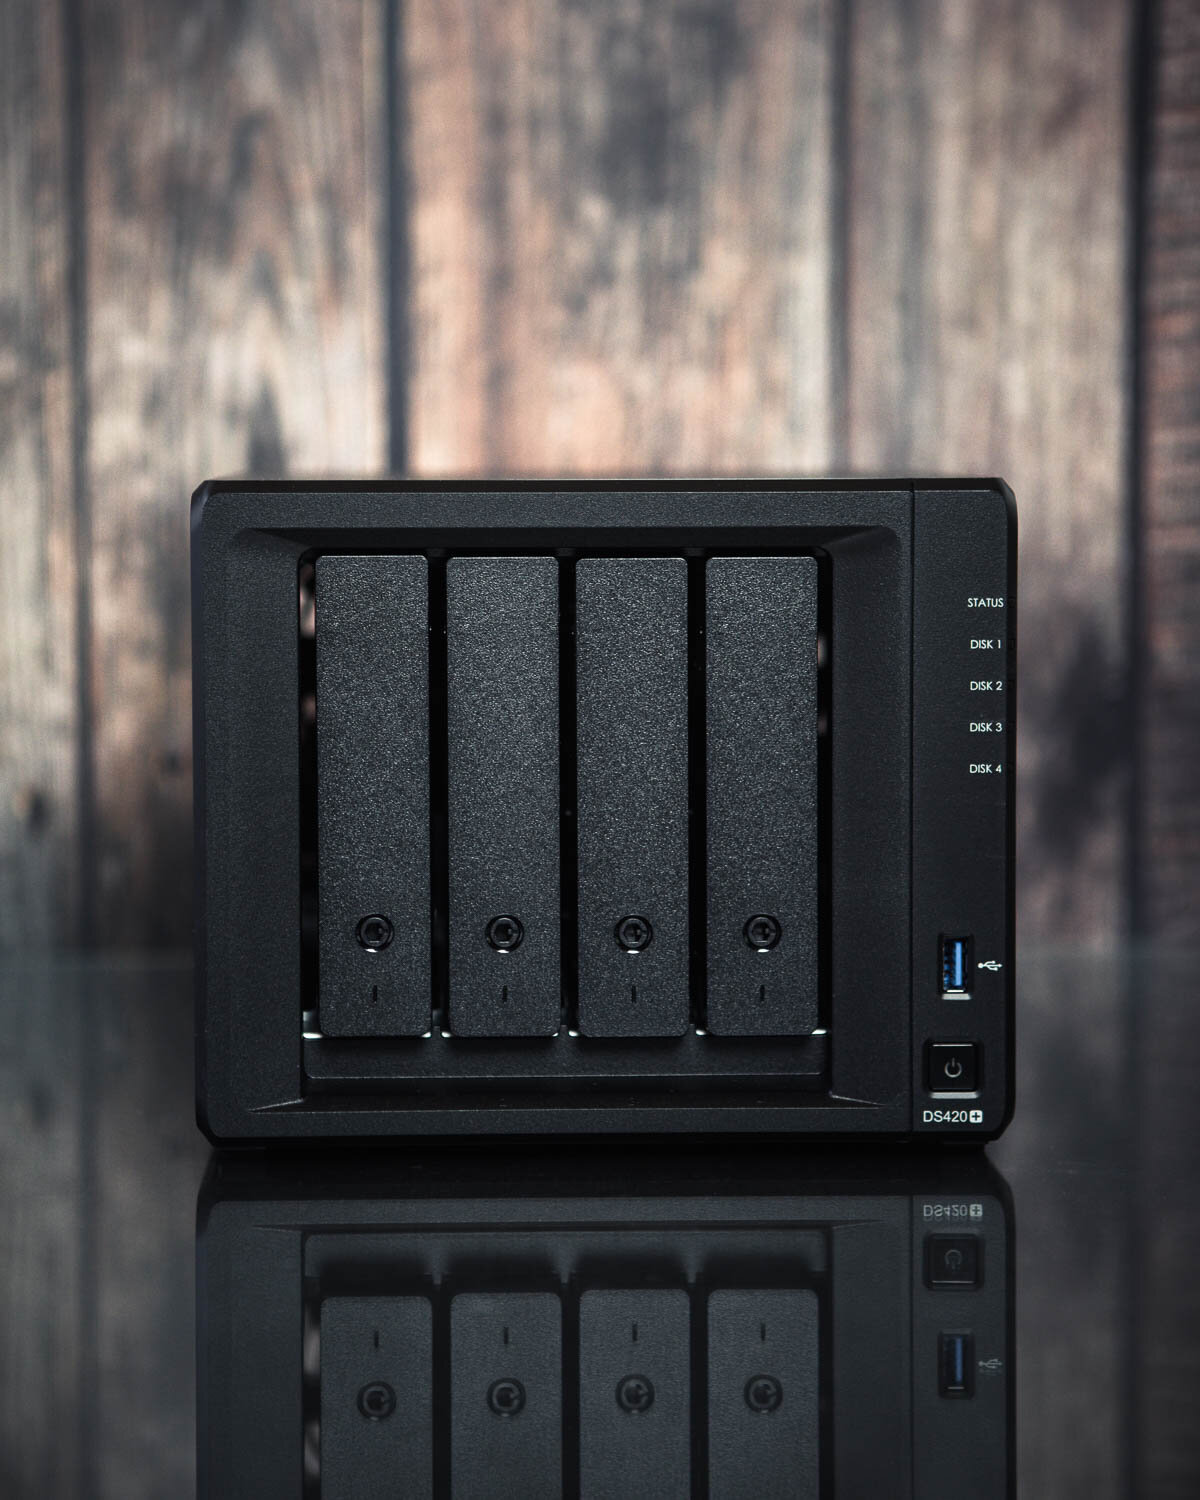
Technical specifications
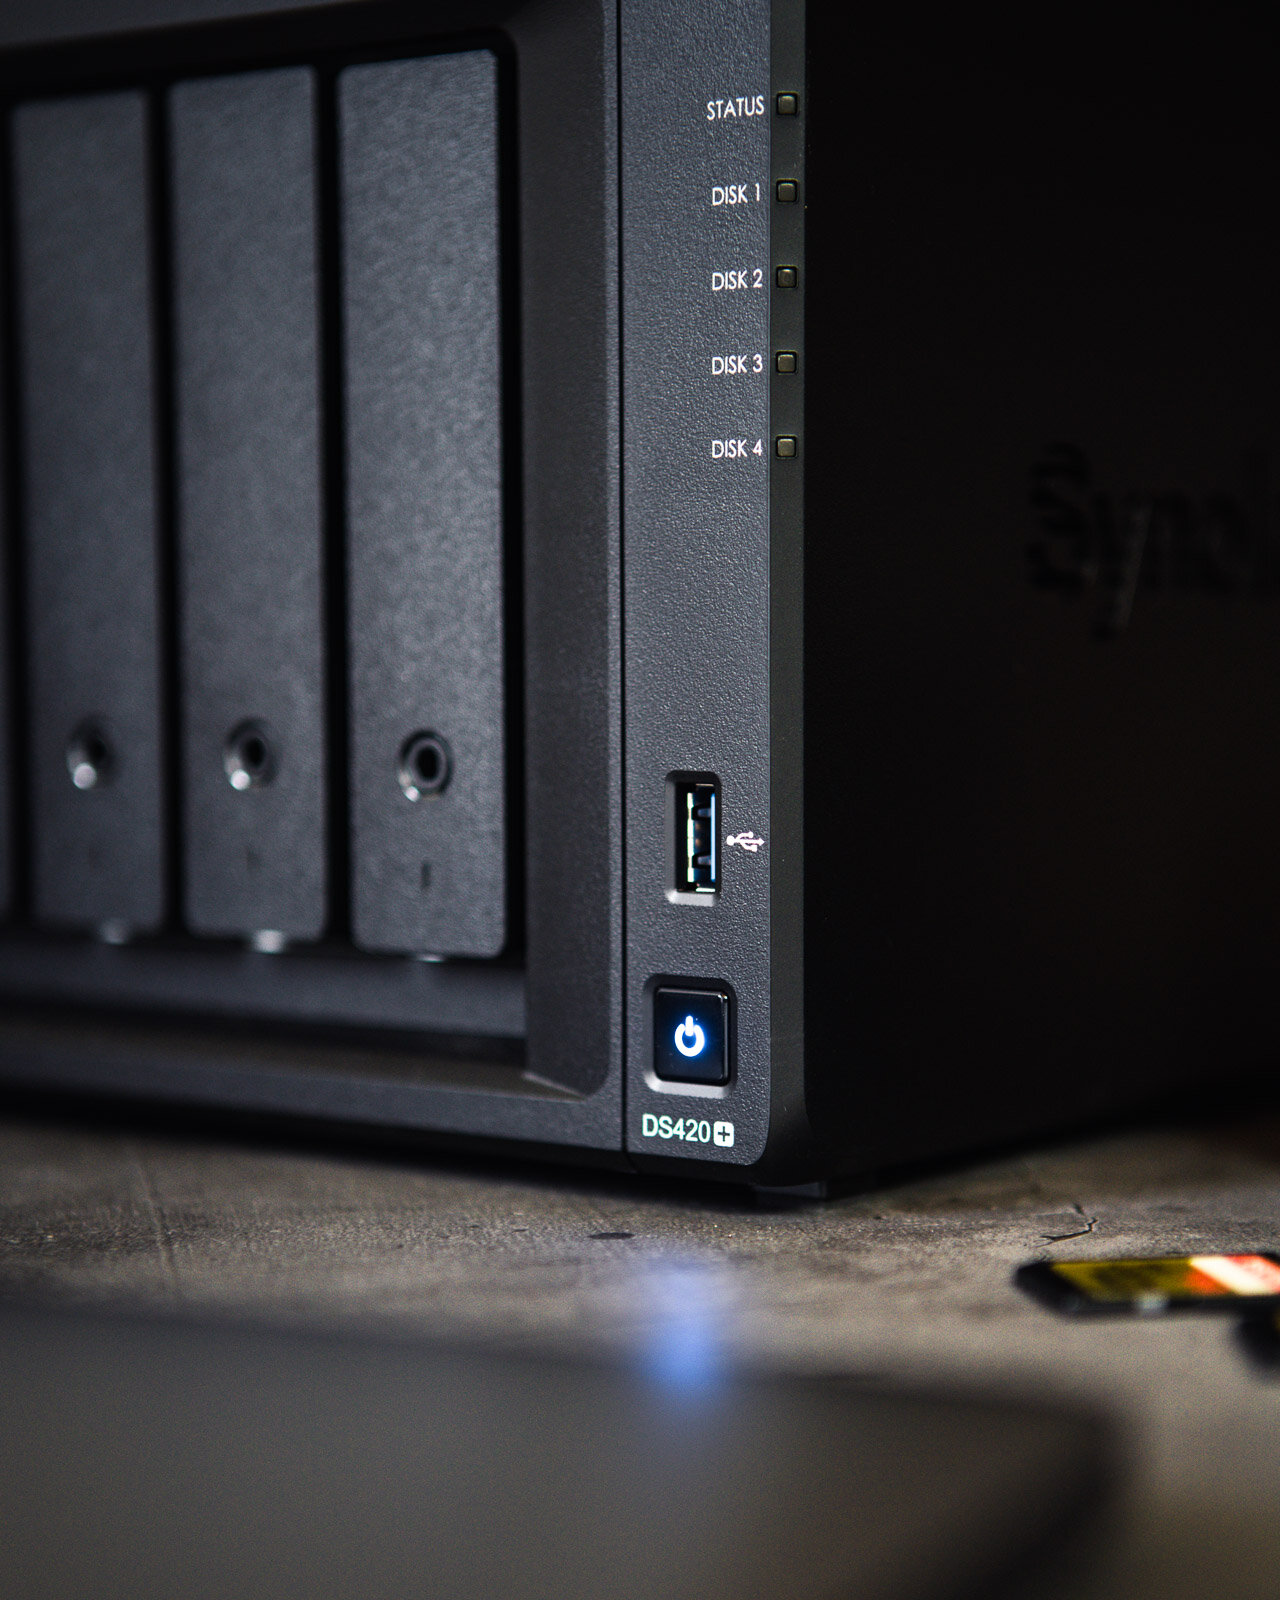
Synology advertises their NAS DS420+ as a device designed for IT enthusiasts and home users. I would like to add professional photographers to the list.
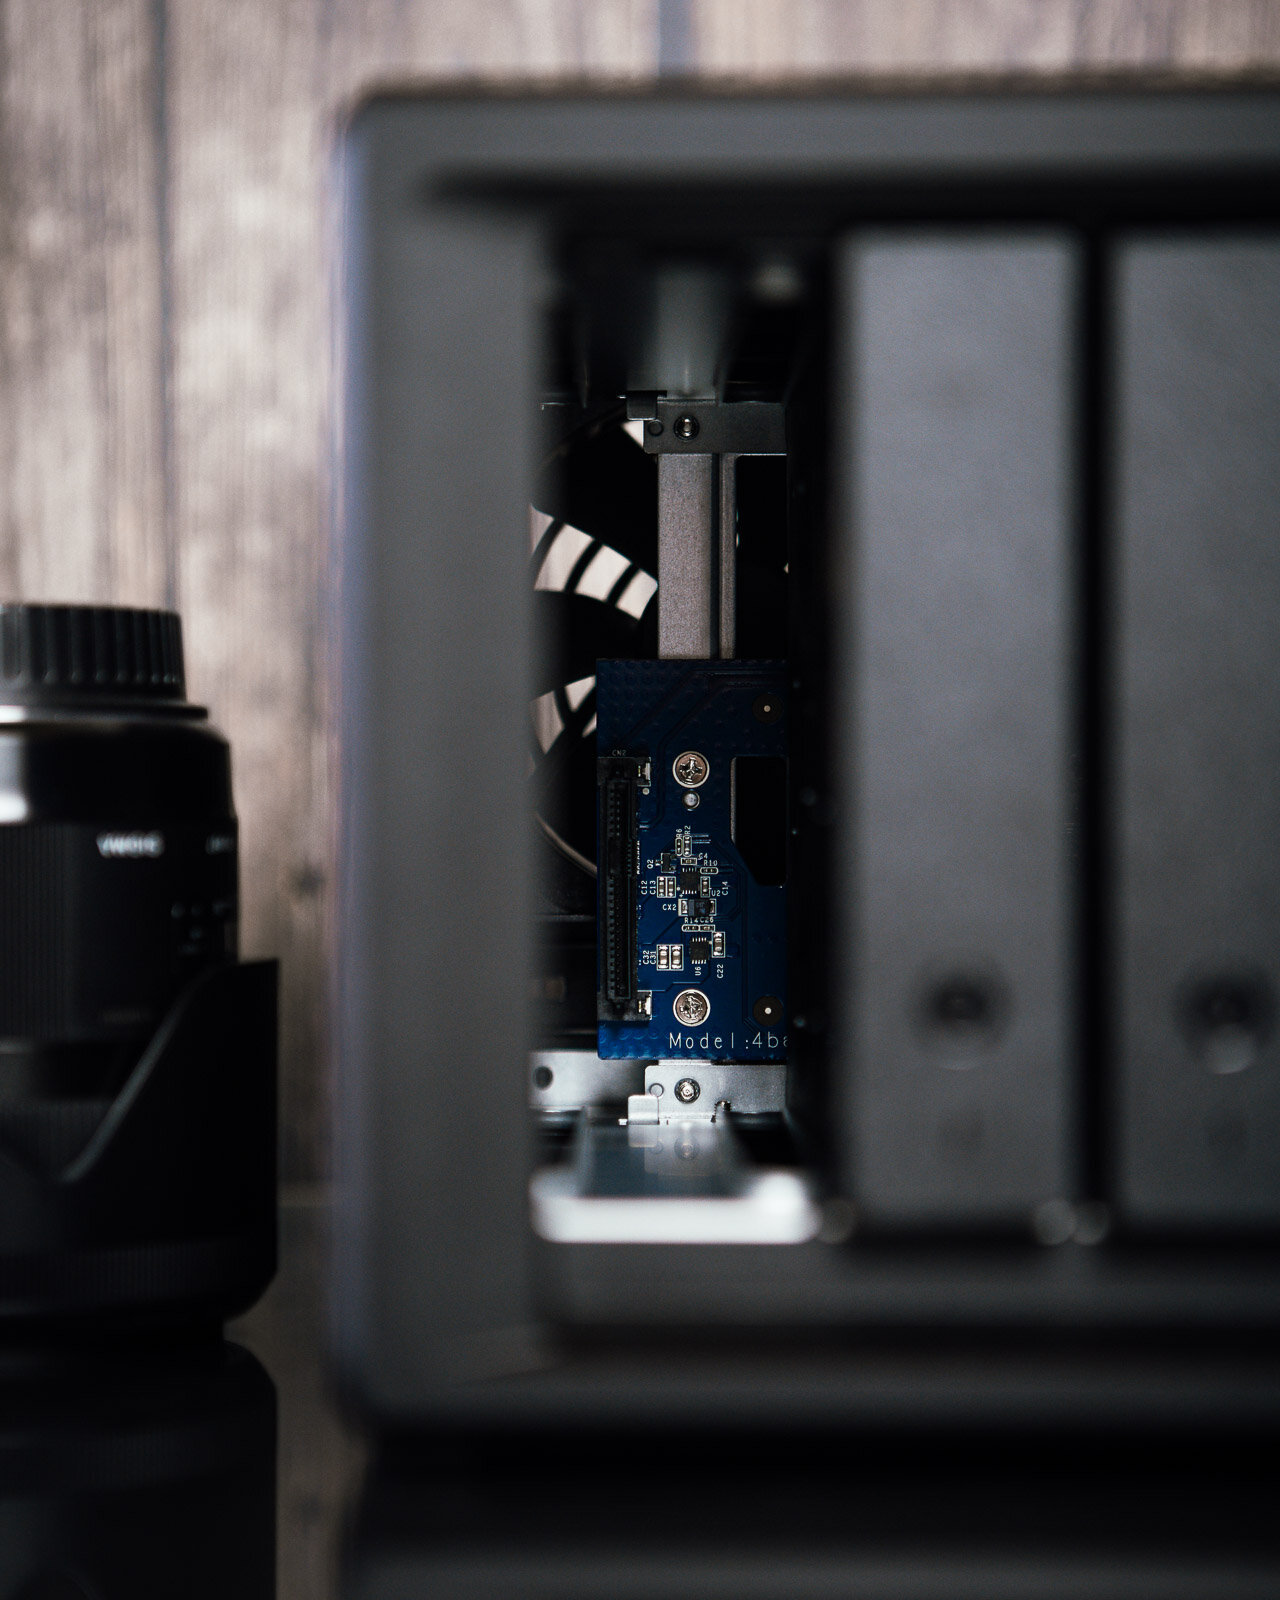
Great advantage of this setup is a dual-core CPU clocking at 2.0GHz (2.9GHz Turbo Boost) which allows fast and fluid manipulation with large volumes of data. Every photographer knows how important this is. Another advantage is a pair of M.2 NVMe SSD slots which allow use the cache to its maximum potential.
Special utilities
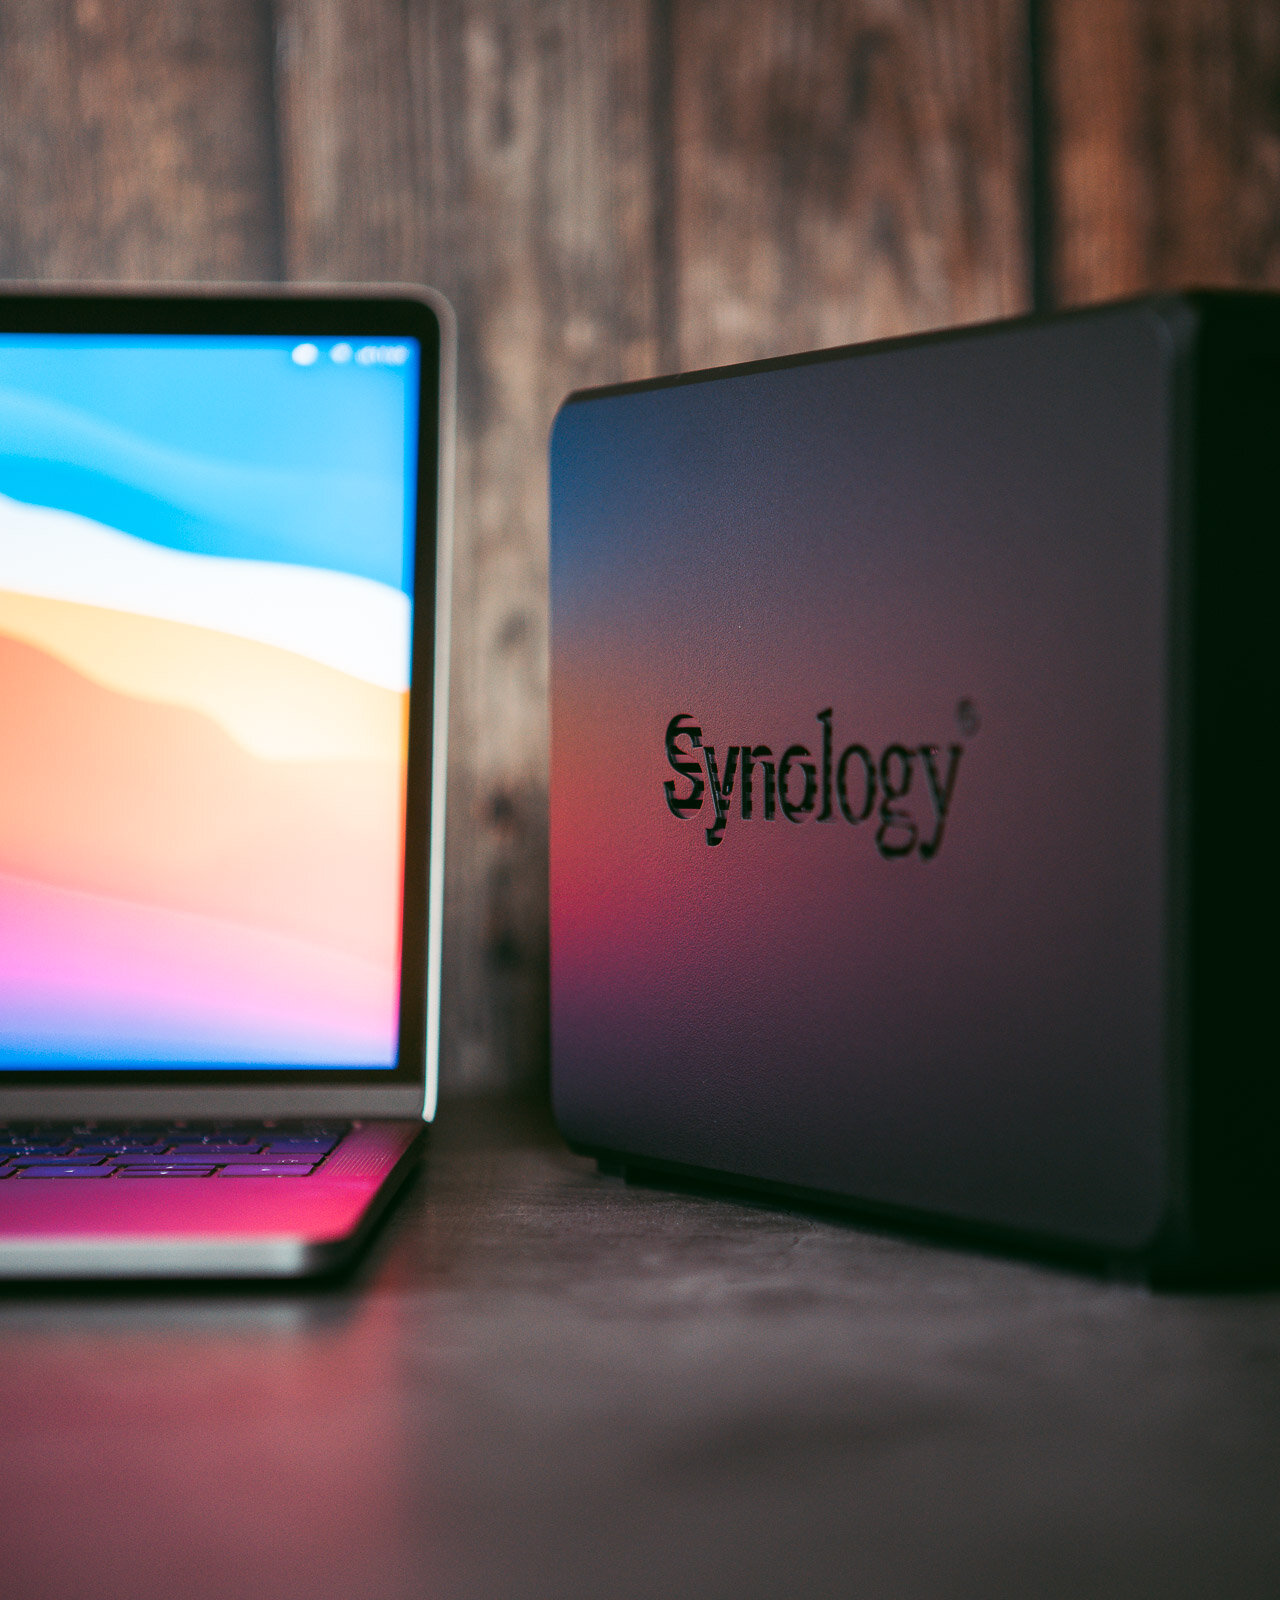
Synology DiskStation Manager operating system hides a great deal of utilities. When I first got my hands on this Synology device I immediately backed-up files from my PC, phone and hard-drives. I set my Mac to back-up the data automatically, so all my data are stored safely and I don’t have to do anything else.

Synology DSM 7.0
Synology Disk Station Manager (DSM) has been evolving steadily since it was released. The new version Synology DSM 7.0 is much faster, modern, and comes with some new and enhanced apps. One of them is the all-new Synology Photos. The app combines Photo Station and Synology Moments to provide a unified platform to manage your photos.

Synology Photos - All-in-one photo management
The new Synology Photos is designed for both professional photographers and casual users. The app offers all the tools you need to manage your photos. You can easily group, filter, organize and share your content (both manually and automatically). It also ensures that your content is safe and secure. Synology Photos backs up and organizes all photographs from my cell phone, so I don’t have to limit myself with its capacity. User environment is arranged systematically and intuitively. It places the photographs into a time-line which can take me back to my favourite memories anytime. Aimed to be used by professionals, it allows you to share photographs via direct links, offers advanced sorting options, and much more.
I used Synology Moments before. Compared to both Photo Station and Moments, I found it to be much faster and responsive. The new app has also a better-looking and minimalistic design.
Synology Drive
Synology Drive is a private cloud I grew accustomed to use every day since it’s free for all who use Synology devices. This allows me to access my data anytime, from anywhere and using almost any device. Synology Drive is also accessible via cell-phone app. All the data is encrypted using SSL protocol.
My workflow
If the situation allows it and I have my PC and Lacie hard-drive with me on my travels, I create the first backup right after I return from a photoshoot. After returning home I immediately upload all the files onto Synology. The system automatically mirrors the files onto the second hard-drive running in RAID 1. Synology also allows uploading the files onto Dropbox or iCloud.
NAS had also made sharing the photographs a breeze. I can share the final product with a client via a simple direct link to my private server. I can now share without using web storages, such as WeTransfer or other. Thanks to Synology I can save a tens of minutes in this process.

Together with @evewithcamera we use this system to its maximum. Thanks to Synology Office we can easily share clouds, move large files between one and other and work on an order together without constantly ex-changing hard-drives. Productivity at its finest
Smart Home
In this last paragraph I will deviate from the topic of photography and talk about using sinology in a smart home setup. I travel a lot and therefore find a connection to my data storage and other devices at home crucial. Thanks to NAS I can tune into CCTV monitoring and manage other smart home devices from anywhere in the world. Synology DS420+ is a perfect solution for a thorough home back-up thanks to its external hard-drive and cloud. A welcomed addition to any household, in my opinion.
I use Synology NAS DS420+ daily, both in professional and private application. I consider it a versatile and smart device capable of more than just data back-up. This state of the art technology ensures safety of my data and allows me to focus solely on my creative process.
Purchasing NAS is not a small investment, but makes a perfect sense both for creators and households. It brings freedom and a possibility to transition from traditional, often faulty hard-drives. In addition, it brings dozens of utilities and functions for safe-guarding data, and makes a day-to-day life much easier.
This article was created in collaboration with Synology. I would like to thank them and I wish them even more satisfied customers like me. You are doing a great job!

6 BEST APPS FOR NIGHT PHOTOGRAPHY
Are you interested in shooting stars and night photography? These astrophotography apps make shooting stars much easier. They are recommended for finding an ideal location, perfect weather conditions, identifying stars, the position of the Milky Way or the moon.
Are you interested in shooting stars and night photography? These astrophotography apps make shooting stars much easier. They are recommended for finding an ideal location, perfect weather conditions, identifying stars, the position of the Milky Way or the moon.


This article is a small part of our extensive guide: Beginners Tips for Night Sky and Star Photography.
Dark Sky Finder
Light pollution is a major problem in photographing stars. This app will help you find the darkest spot for observation. Users add their favorite places along with notes.
Weather Underground
This is one of the most accurate predictions. When it says it will rain in 20 minutes, it rains in 20 minutes. What makes the app special for us? You can set your own specific notifications. If you are waiting for the fog after the rain, simply set the alert.
Deluxe Moon
This is my favorite monthly app. It offers a visual idea of how much light the moon reflects. Ideal conditions occur when the moon is new or far below the horizon. I can see exactly when this will happen.
TPE - The Photographer's Ephemeris
It is a web-based and mobile application that simply helps to outline where it will shine in a given location. You can see the light falling into place, both day and night, using the sun and moon position calculator.
Go Sky Watch
This app is great to identify stars in the sky. You can locate stars, planets or entire constellations simply by pointing your mobile phone toward the sky and rotating it.
PhotoPills
You should install ff you are really interested in astrophotography. Finding the Milky Way has never been easier. The app offers countless features that are very useful. For example, if you have a 14mm, f / 2.8 Samyang manual lens, you can use the calculator to calculate the shutter speed at aperture and ISO.


HOW TO EDIT WITH LIGHTROOM PRESETS
I hope that this tutorial can help you understand my presets and take your photo editing up to the next level with just a few clicks.
Step-by-step guide by Tomas Havel | @tomashavel
I hope that this tutorial can help you understand my presets and take your photo editing up to the next level with just a few clicks.
Please note that because every image is different, every preset is meant as a starting point. Most presets work differently on every image depending on the exposure, lighting, colors in the image, etc. Therefore I do not include the correction of the exposure and white balance to make presets more versatile.
All preset collections include premium structured preset layers (gradients/light effects) and give you the freedom to create. Based on those premium filters a desktop version of Lightroom is recommended for the best results.
To get the most out of my presets, do the following:
1) Apply one of the main preset looks (presets: 1.1 - 1.20) .
Each preset gives you a different color scheme and atmosphere, adds vibrancy to your landscape images, improves the dynamic range and light, or brings out a drama in them. Every collection by Tomas Havel is designed to match a variety of different landscapes in specific conditions.
Before applying them, please adjust exposure properly to get the most out of the presets. It’s best to get the correct exposure in camera when shooting. However, you can adjust it in Lightroom if needed. The second step is to make sure your white balance is spot on, then my presets give you the look you’ve been trying to achieve.
2) Add Vignette or special Light Effects & Gradients (presets: 2.1 - 5.1).
Vignetting - This collection includes four types of realistic vignette. Which vignette you choose is entirely up to you. Vignetting adds drama, brings the mood to your photos, and above all, sets off the main subject and makes your pictures pop.
Radial filters - "Spotlights" - Creating a dreamy ambiance and light. This effect is set in the middle of the image and need to adjust the position manually as needed. The ideal position of the Spotlight is the side of the photo from where the sunlight shines. You can reduce or increase radial filters depends on the real light.
Graduated filters - "Dramatic Gradients" These dramatic filters are designed for both vertical and horizontal photos. You can easily darken the sky or the foreground to increase the dynamic range or bring out a drama into your landscape images.
3) Sharpening
The secret to doing sharpening without introducing noise is to hold alt / cmd key and drag the masking slider to see where the sharpening is being applied to. Set the masking slider around 50-75 for great sharpening of the edges only.
Now the image is crisp without any noise on the sky or on spots without any texture.
Here you can see the application of presets to my certain photo.
Presets used: "1.3 Golden Hours" with "Vignette++" together with "Warm Spotlight" adjusted to the position of the sun.
This combination of presets creates a unique dreamy look, add s vibrancy of sunset colors, improves the dynamic range, and enhances the main object.
The photo was taken in the Czech Republic just a few minutes before sunset.